Using Torchlight with Statamic's Bard field
Heads up: This post is more than 3 years old, so some of it may be out-of-date.
Torchlight is a really awesome API for syntax highlighting. In the past, folks might have used libraries like Prism or highlight.js. These libraries work but they're not completely accurate.
Whereas, Torchlight uses the same syntax highlighting system under the hood as VS Code which means it can support any language that VS Code can (including Antlers!)
I've been using Torchlight on this site for a while, along with on my documentation sites. And as I'm seeing more and more folks using it, I thought I'd share how to setup Torchlight to work with Statamic's Bard field.
Install Torchlight
Before you can do anything else, you'll need to install Torchlight's Laravel package and copy over the default config file. You can do these two steps by running these two commands:
composer require torchlight/torchlight-laravel
php artisan torchlight:install
In your config folder, you should now see a torchlight.php file which contains some settings, like the VS Code theme you wish your code blocks to be rendered in.
If you haven't already, create an API token which you can do on this page (provided you're logged in). Then, take the token and add it to your .env file.
TORCHLIGHT_TOKEN=your-mad-torchlight-token
Next, add Torchlight's middleware to the Http Kernel (app/Http/Kernel.php).
/**
 * The application's route middleware groups.
 *
 * @var array
 */
protected $middlewareGroups = [
  'web' => [
	  \Torchlight\Middleware\RenderTorchlight::class, // [tl! add]
	  \App\Http\Middleware\EncryptCookies::class,
	  \Illuminate\Cookie\Middleware\AddQueuedCookiesToResponse::class,
	  \Illuminate\Session\Middleware\StartSession::class,
	  // \Illuminate\Session\Middleware\AuthenticateSession::class,
	  \Illuminate\View\Middleware\ShareErrorsFromSession::class,
	  \App\Http\Middleware\VerifyCsrfToken::class,
	  \Illuminate\Routing\Middleware\SubstituteBindings::class,
  ],

  'api' => [
	  'throttle:api',
	  \Illuminate\Routing\Middleware\SubstituteBindings::class,
  ],
];
Add a set your Bard field
Next, go in and edit your blueprint, click into your Bard field (create one if you don't already have one), then create a new set which will be used for your code blocks.
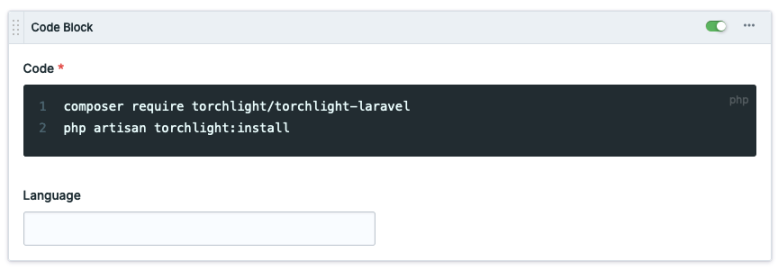
I have two fields in my 'Code block' sets. One for the code itself (using the Code fieldtype) and one for the language which we later pass to Torchlight to highlight the code properly (can use a normal Text fieldtype).

Then, you'll want to save your blueprint.
Torchlight 🔦
Add this code to wherever you're looping through your Bard field and have a code block set (replace the handles if you need to)
{{ torchlight :language="language" }}
  {{ code | noparse | entities }}
{{ /torchlight }}
Next, we need to create the Torchlight tag you see in the code example above. I've already written this for you, so all you need to do is paste it into app/Tags as Torchlight.php.
<?php

namespace App\Tags;

use Statamic\Tags\Tags;
use Torchlight\Blade\BladeManager;
use Torchlight\Block;

class Torchlight extends Tags
{
    /**
     * {{ torchlight language="php" }}{{ my_code }}{{ /torchlight }}
     */
    public function index()
    {
        $language = $this->params->get('language');
        $code = $this->context->raw('code');

        $block = Block::make()
            ->language($language)
            ->code($code)
            ->theme(config('torchlight.theme'));

        BladeManager::registerBlock($block);

        $render = function (Block $block) {
            return "<pre><code class='{$block->placeholder('classes')}' style='{$block->placeholder('styles')}'>{$block->placeholder()}</code></pre>";
        };

        return $render($block);
    }
}
Finally, you'll want to add in Torchlight's CSS to your site so the code blocks will be rendered properly - as documented on the Torchlight site.
Now, when you load up your site, your code blocks should be rendered with Torchlight. 🚀
